


File Preparation
-
Bleeds & Margins
All files must incorporate a 1/8″ bleed on all four sides.
“Bleed” is a printing term used to indicate the area that will be trimmed off after the job is printed and cut down to the finished size. Since the bleed extends 1/8″ all around the card, your document set-up should be 1/4″ taller (1/8″ on top and 1/8″ on the bottom) and 1/4″ wider (1/8″ on the left and 1/8″ on the right) than the finished size of the card. The chart below indicates what the document set-up should be for a particular finished size.
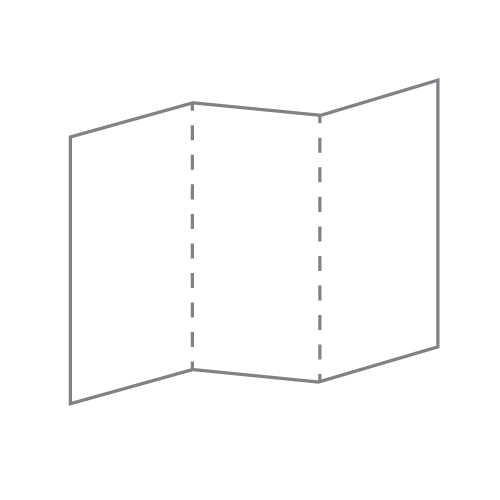
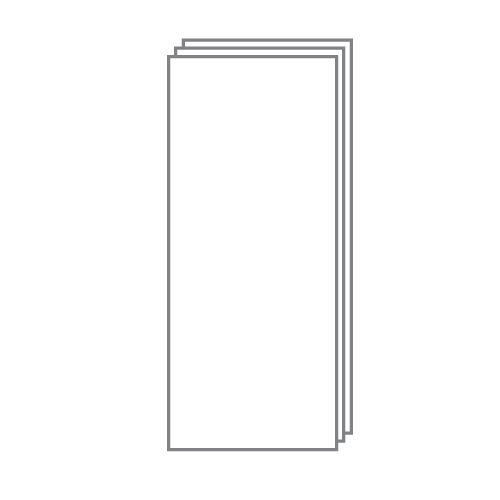
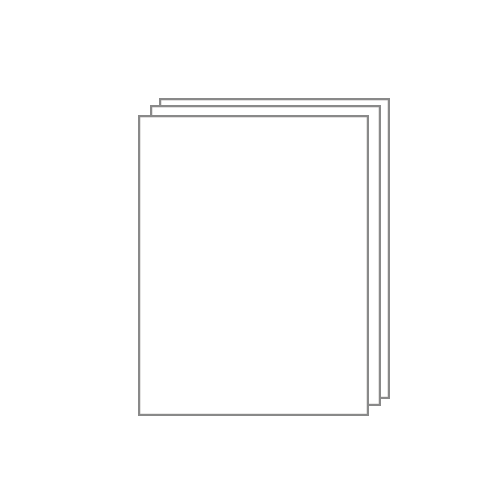
Below are some samples of finished document size and bleed document size.
Finished Size
With Bleed
2″ x 3.5″
2.25″ x 3.75″
3″ x 3″
3.25″ x 3.25″
3″ x 4″
3.25″ x 4.25″
4″ x 4″
4.25″ x 4.25″
4″ x 6″
4.25″ x 6.25″
5″ x 5″
5.25″ x 5.25″
5″ x 7″
5.25″ x 7.25″
6″ x 6″
6.25″ x 6.25″
6″ x 8″
6.25″ x 8.25″
6″ x 9″
6.25″ x 9.25″
8.5″ x 11″
8.75″ x 11.25″
11″ x 17″
11.25″ x 17.25″
13″ x 19″
13.25″ x 19.25″
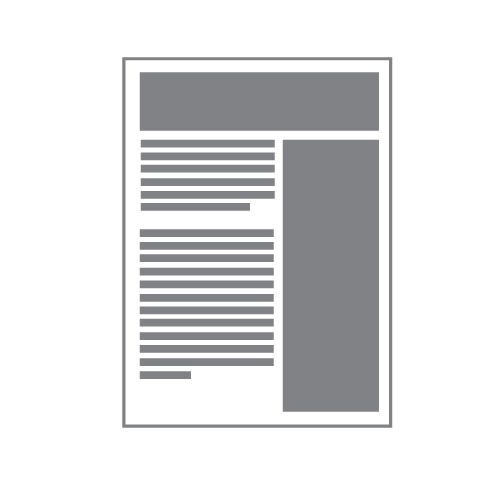
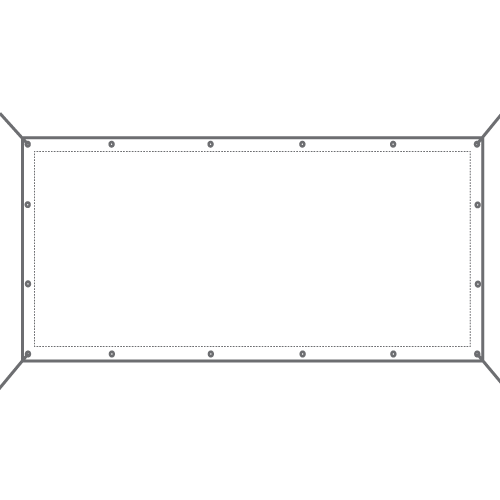
 Since the bleed area will be trimmed off during the cutting process, there can be no text or other important information in the bleed area. Furthermore, we require an additional 1/8″ safety margin. Although the background image, photo or texture used on the card must match the document set-up in the chart above, all your text and important information must be contained in the live area (see example below). The distance between the live area and the edge of the card is 1/4″ (1/8″ bleed which will be cut-off, and 1/8″ safety margin). The examples below show both a correct and incorrect document set-up.
In the example, the text “No Good!” will get partially cut off, the left side of the baseball picture will show white (the grass background image must extend PAST the SOLID RED line as it does on the top, right and bottom)Be aware that text or images too close to the TRIM LINE (shown in SOLID RED) will be cut off. Make sure that your background image extends 1/8” past the TRIM LINE.
In the above illustration, the background image needs to extend to the BLACK LINE. Be sure to extend the background image to bleed or the white of the paper may show in the final cut down product.
-
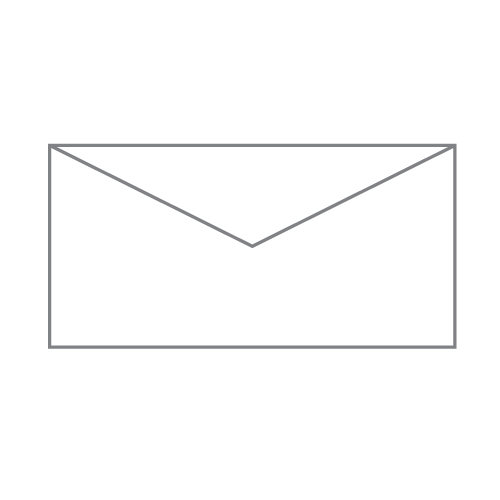
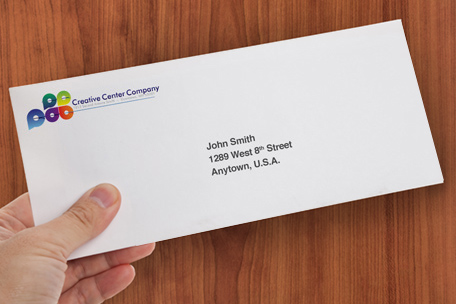
Variable Addressing on Envelope
For a small setup charge we can address your envelopes for you saving you a lot of time and money.
Artwork file formats: We recommend pdf. You may also send the following types: jpg, jpeg, tif, tiff, eps, and png.
Data file formats: We accept .txt (tab delimited) format only. We also accept Excel.

To download a txt template Click on the link provided GPaddressingTemplate
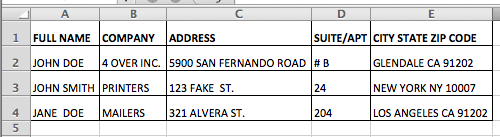
On the txt file, the header columns should be labeled exactly as follows:
- column A: FULL NAME
- column B: COMPANY
- column C: ADDRESS
- column D: SUITE/APT
- column E: CITY STATE ZIP CODE
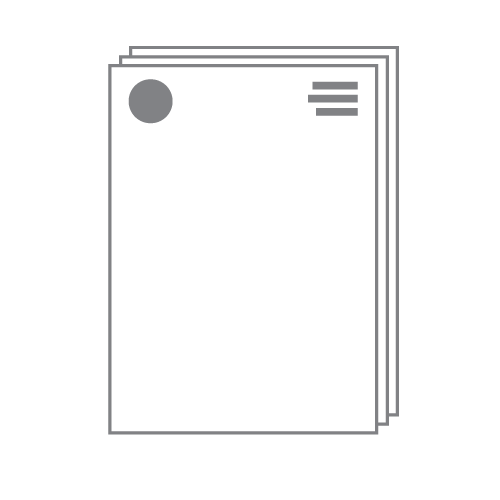
Here’s a sample of what the Mailing List Excel sheet should look like:
The Variable Addressing portion has a default font of 12pt Arial, black only.
note: if your csv data file contains extremely long names or addresses, the font will automatically be resized to fit the addressing area, but will be no smaller than 9pt type.
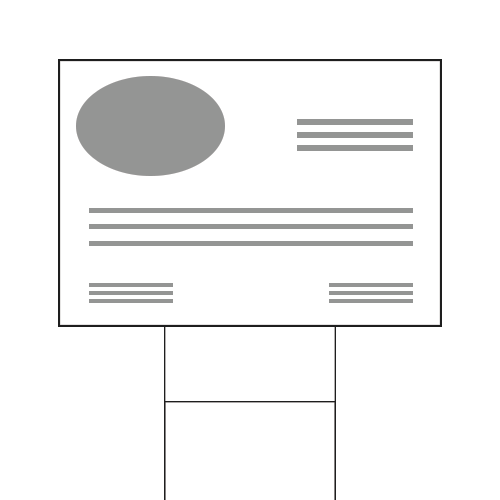
Please see the example below:
-
Making a rich black solid.
Rich black is an ink mixture of solid black, 100% K, with additional CMY ink values. This results in a darker tone than black ink alone. If you print black alone as 100% K, the resulting black may not be as dark as you might like.
Rich Black Values Cyan-60%, Magenta 40%, Yellow-40%, Black 100%
100% K on screen

100% K after print

-
How do I export a PDF correctly?
When exporting from any program such as Indesign or Illustrator, use these settings to make sure your PDF files export correctly.
Export settings for PDF files
Adobe PDF Preset is set to: Press Quality

Compatibility is set to: Acrobat 4 (PDF 1.3)

Compress Text and Line Art is set to: Off
– OR –We also have a PDF Preset (.joboptions file) to make it easy to create a GP Print Ready PDF. Download the file, then double click. This will install a Preset into all Adobe products (Photoshop, Illustrator, Indesign, etc..) so you can choose it while saving your PDF.
Click Here For GP PDF Settings. GP-Print-Ready-PDF.joboptions
NOTE: Due to Adobe limitations, this preset will not convert all colors into CMYK. You must convert all colors to CMYK before saving your file.
-
Application Specifications
Guilderland Printing will accept native digital files from the list below:
1. Adobe Illustrator®
2. Adobe InDesign®
3. Adobe Photoshop®
4. QuarkXpress®Note: Digital files created in any Microsoft program (Expression Studio, Word, Excel, PowerPoint, Paint, etc) are not supported. This also includes PDFs created within any Microsoft program. You may submit files from these sources, but it is at your own risk.
-
Black & White Artwork
All black & white artwork and/or images must be provided in grayscale.
-
Scanned Images
Image resolution is important for quality results. If you scan any photographic images, you should scan them at a minimum 350 dpi (dots per inch) and at the actual size you intend to print them. All scanned images should be submitted as CMYK images in EPS or TIFF file format.
*Scanning photographic images at a larger resolution than 350 will not help to increase the quality of your raster image. It only makes the file size larger than they need to be and may introduce more problems to your file. Larger resolutions are required only for line art.
-
Line Art
Line art images (1-bit tifs) should be scanned at a minimum 600dpi (1200dpi preferred) and at the actual size to be printed.
-
Low Resolution Images
Beware of using images saved as JPEGs and used on web sites. Images used on web sites are optimized for screen/monitor viewing. These images tend to be only 72 dpi and are too low of a resolution for commercial printing.
*Your monitor displays images between 72 and 96 dpi. To adequately view print resolution on a monitor, you should zoom in 400%.
-
If an image is low resolution can I increase the resolution in Photoshop?
No, you should never increase the total pixel dimension of the image. Your computer will try to interpolate (calculate and add) pixels that are not there. The result will be a printed image that looks fuzzy and blurry.
Images interpolated to 350 dpi will print fuzzy and blurry!
To correct a low resolution image, you need to re-scan your image at 350 dpi and at the actual size you intend to print them. Beware, scaling your images up when placing them in layout programs (Quark Xpress or InDesign) will lower the image resolution.
-
PDF Preparation
To create a PDF from any of the Adobe applications (Illustrator, InDesign, Photoshop) follow the instructions below. NOTE: If you are ordering a “Self-service” product, please use the appropriate template and follow the PDF instructions it contains.
- Save As… (Illustrator/Photoshop) or Export…(InDesign).
- Select PDF as the format.
- Set “Adobe PDF Preset” to Press Quality.
- Set “Compatibility” to Acrobat 6 (PDF 1.5).
- In the “Marks and Bleeds” section (InDesign and Illustrator only), set “Bleeds” to .125 inch on all sides.
- In the “Output” section:
- Set “Color Conversion” to No Conversion.
- Set “Profile Inclusion Policy” to Don’t Include Profiles.
- In the “Advanced” section, set “subset fonts…” to 0%.
- Click Save PDF
You now have a “Press Ready” PDF ready to upload to Guilderland Printing!
-
General Specifications for Preparing Press-Ready Digital Files
These general specifications are for complete, press-ready digital files. They must be met in order to process your job. Please review the five general specifications below as well as the application specifications carefully.
-
Color Mode
All color artwork and/or images must be provided in CMYK (cyan, magenta, yellow, black) color mode. All black & white artwork and/or images must be provided in grayscale color mode. LINK NEEDED
-
Resolution
All file formats must have a minimum of 300 dpi (dot per inch) resolution.
Resolution also known as DPI (Dots Per Inch) or PPI (Pixels Per Inch) can be described as the number of dots that fit horizontally and vertically into a one-inch space. Generally, the more dots per inch, the more detail captured and the sharper the resulting image.
For an image to print properly, the image resolution must be at least 300 dots per inch (DPI) at the final output size.
If your file is not 300 dpi, you can not simply increase a low resolution image to a higher one by increasing the DPI in your imaging program. The printed result will be a blurry image.

-
Fonts
Whenever possible outline all fonts, otherwise all used fonts must be collected. If font’s cannot be outlined, be sure to include both screen and printer fonts. When collecting fonts, be sure to collect screen and printer fonts.
Do not stylize or use Multiple Masters fonts. Stylizing fonts in programs like Quark Xpress is not recommended and may cause output problems.
*Stylizing fonts by selecting the stylize buttons like italicize in programs like Quark Xpress is not recommended. If available, select the stylized font in the font menu instead.
Use only PostScript type 1 fonts. True Type fonts may be supplied, but we recommend against using them since we cannot guarantee their integrity in our systems.